Discovering a puddle spreading out from under your washing machine is a frustrating experience. While it’s easy to assume the worst, the culprit is often the drain hose. A problem with this simple part is one of the most common causes of washer leaks, and identifying it is the first step toward a dry floor and a working appliance.
How to Tell if a Faulty Drain Hose Is the Problem

Before worrying about a major internal failure, a close look at the drain hose can reveal a lot. This hose handles the pressure of draining water while enduring constant vibration, making it a prime suspect for any leak at the back of the machine.
The most obvious sign is water dripping from the hose or pooling directly beneath it. Carefully run a dry hand along its entire length—from where it connects to the washer to where it enters the standpipe—to feel for moisture. Also, check for visible cracks or spots that feel unusually stiff or brittle.
Common Signs of a Drain Hose Problem
Beyond an active drip, a few other signs indicate the hose is the issue:
- Cracks and Brittleness: Over time, the rubber or plastic material degrades from age and exposure to detergents. Look for small fissures or areas where the hose feels rigid, especially near the connection points where it bends.
- A Loose Connection: The clamp holding the hose to the washer's drain pump can loosen from the machine's vibration. If you can easily wiggle the hose at the connection point, the clamp is not secure.
- Kinks or Pinches: If your washer is pushed too tightly against the wall, it can flatten or kink the hose. This creates a bottleneck, causing pressure to build and force water out at the weakest point.
- Backflow from the Standpipe: If water gushes out of the drainpipe in the wall when the washer is draining, it's a classic sign of a clog, either in the hose itself or further down in your home’s plumbing.
While checking the drain hose, it’s also a good idea to inspect other connections, including the washing machine stop tap, as leaks can sometimes have more than one source.
To help you narrow down the issue, this table matches common symptoms to their likely cause.
Quick Leak Diagnosis for Your Drain Hose
| Symptom | Likely Drain Hose Cause | What to Look For |
|---|---|---|
| Puddle directly under the hose | Crack, split, or puncture | Visible damage or wet spots on the hose body. |
| Water leaking from the washer connection | Loose or failed clamp | Moisture around the clamp; the hose feels loose when wiggled. |
| Water gushing from the wall pipe | Clog in the hose or standpipe | Lint, debris, or a sharp bend blocking the flow of water. |
| Leak near the back wall | Kinked or pinched hose | The hose is flattened or bent at a sharp angle behind the machine. |
Using these signs, you can often diagnose the problem in a few minutes and decide on your next steps.
Pro Tip: Timing Is Everything
Pay close attention to when the leak happens. If you only see water during the drain or spin cycle, the drain hose is almost certainly the problem. A leak that appears during the fill cycle, on the other hand, points toward the water inlet hoses. Occasionally, a leak may be a symptom of a different issue, such as an error like the AE code.
Common Reasons Your Washer Drain Hose Is Leaking
To fix a leak for good, it's important to understand why it started. A washer drain hose rarely fails without a reason; the problem usually develops over time. Understanding these root causes helps you solve the immediate issue and prevent it from happening again.
One of the biggest culprits is the constant vibration from your washer's spin cycle. All that shaking can slowly work connections loose. The small metal clamp holding the hose onto the washer's drain pump might loosen just enough to let water seep out under the pressure of a full drain cycle.
Installation and Wear Over Time
The way the hose is positioned behind the machine is a significant factor. A common mistake is pushing the washer too far back against the wall, which can easily pinch or kink the drain hose. That sharp bend restricts water flow, causing pressure to build until it either bursts the hose or forces water out of a connection.
Key Insight: Age Is More Than Just a Number
The rubber and plastic that standard drain hoses are made of don't last forever. Constant exposure to detergents, bleach, and the cycle of hot and cold water breaks down the material from the inside out. A hose can look fine on the outside but be brittle and ready to crack on the inside.
This natural aging process is often accelerated by mineral-rich hard water. Over time, these minerals can build up inside the hose, making it stiff, less flexible, and much more likely to crack under pressure. What was once a pliable tube becomes a rigid pipe waiting to fail.
Clogs and Internal Blockages
Another common cause is an internal blockage. Lint, pet hair, and small bits of debris washed out with the drain water can gather inside the hose and form a partial or complete clog.
When that clog becomes severe, water pressure skyrockets during the drain cycle until it finds the weakest link—often a loose connection or a tiny, pre-existing crack in the hose.
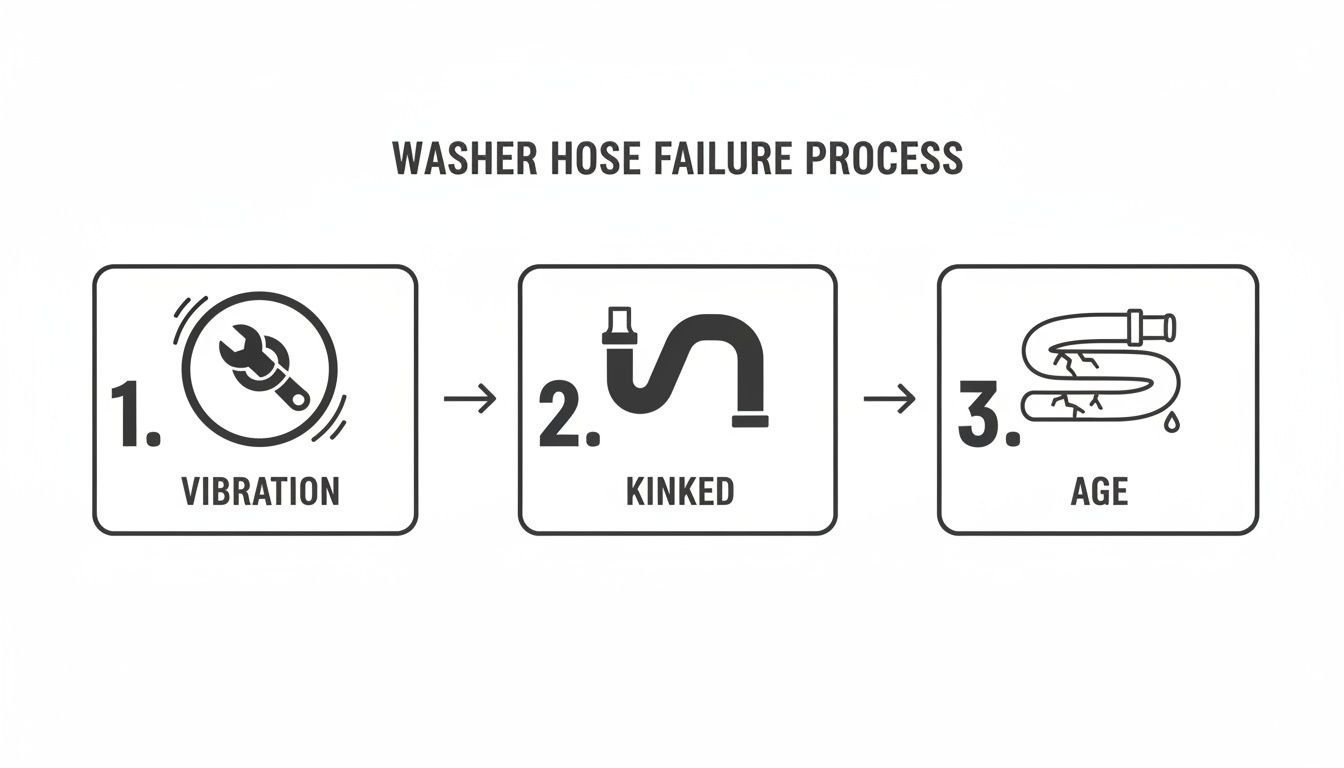
As this diagram shows, leaks are often a result of multiple factors. Vibration can loosen a clamp, a kink creates a weak point, and aging makes the material brittle. Eventually, one of these issues will lead to a leak.
Your Guide to Inspecting and Fixing the Drain Hose
If you suspect the drain hose is the source of the leak, it’s time to confirm the problem. A thorough inspection will tell you whether you're dealing with a quick fix or if you need a full hose replacement. The good news is that this is often a straightforward DIY job.
First, safety is paramount. Before moving the machine, unplug the washing machine from the wall outlet. Then, locate the hot and cold water supply valves behind the washer and turn them off completely. This step prevents electrical shock or a new flood while you're working.
Accessing and Inspecting the Hose
Carefully pull the washer away from the wall to give yourself enough space to work behind it. Have a bucket and some old towels on hand, as there will likely be some water left in the hose that will spill out upon disconnection.
With the hose in view, perform a close inspection from end to end.
- Look for visible damage: Scan the entire length for obvious cracks, holes, or splits. Pay extra attention to the bends and any spots where the hose might have been rubbing against the wall or washer cabinet.
- Feel for brittle spots: Run your hand along the hose. If it feels stiff, hard, or makes a crackling sound, it is old and has lost its flexibility. A brittle hose is a ticking time bomb.
- Check the connection points: Leaks often occur right where the hose connects to the washer's drain pump or where it hooks into the standpipe. Look closely at the clamps for rust, corrosion, or any signs of drips.
Disconnecting the Hose and Clearing Blockages
If the hose appears fine on the outside, a blockage could be causing water to back up and escape. To check for a clog, place your bucket directly under the connection on the back of the washer. Use pliers to squeeze and slide the spring clamp (or loosen the screw clamp) holding the hose in place. Gently wiggle the hose off the drain outlet—and be prepared for the leftover water.
Once it's disconnected, check for blockages by shining a flashlight through it. If needed, use a flexible drain snake to carefully push out any buildup. Lint, pet hair, and other debris are common culprits.
Expert Tip: Choosing Your Replacement Hose
If your inspection reveals any cracks, weak spots, or brittleness, do not attempt to patch it. Replacement is the only safe solution. While a standard rubber hose is adequate, consider upgrading to a braided stainless steel hose. They cost more but are far more resistant to punctures, kinks, and bursting, offering long-term peace of mind.
When you install the new hose, push it firmly onto the drain outlet before tightening the clamp securely. Route the hose up to the standpipe, creating a gentle "U" shape at the top before inserting it. This prevents water from siphoning back into the machine. Do not jam it too far down the pipe; it just needs to be secure. Once everything is reassembled, turn the water and power back on and run a quick rinse and spin cycle to check for leaks.
Proactive Maintenance to Prevent Future Leaks
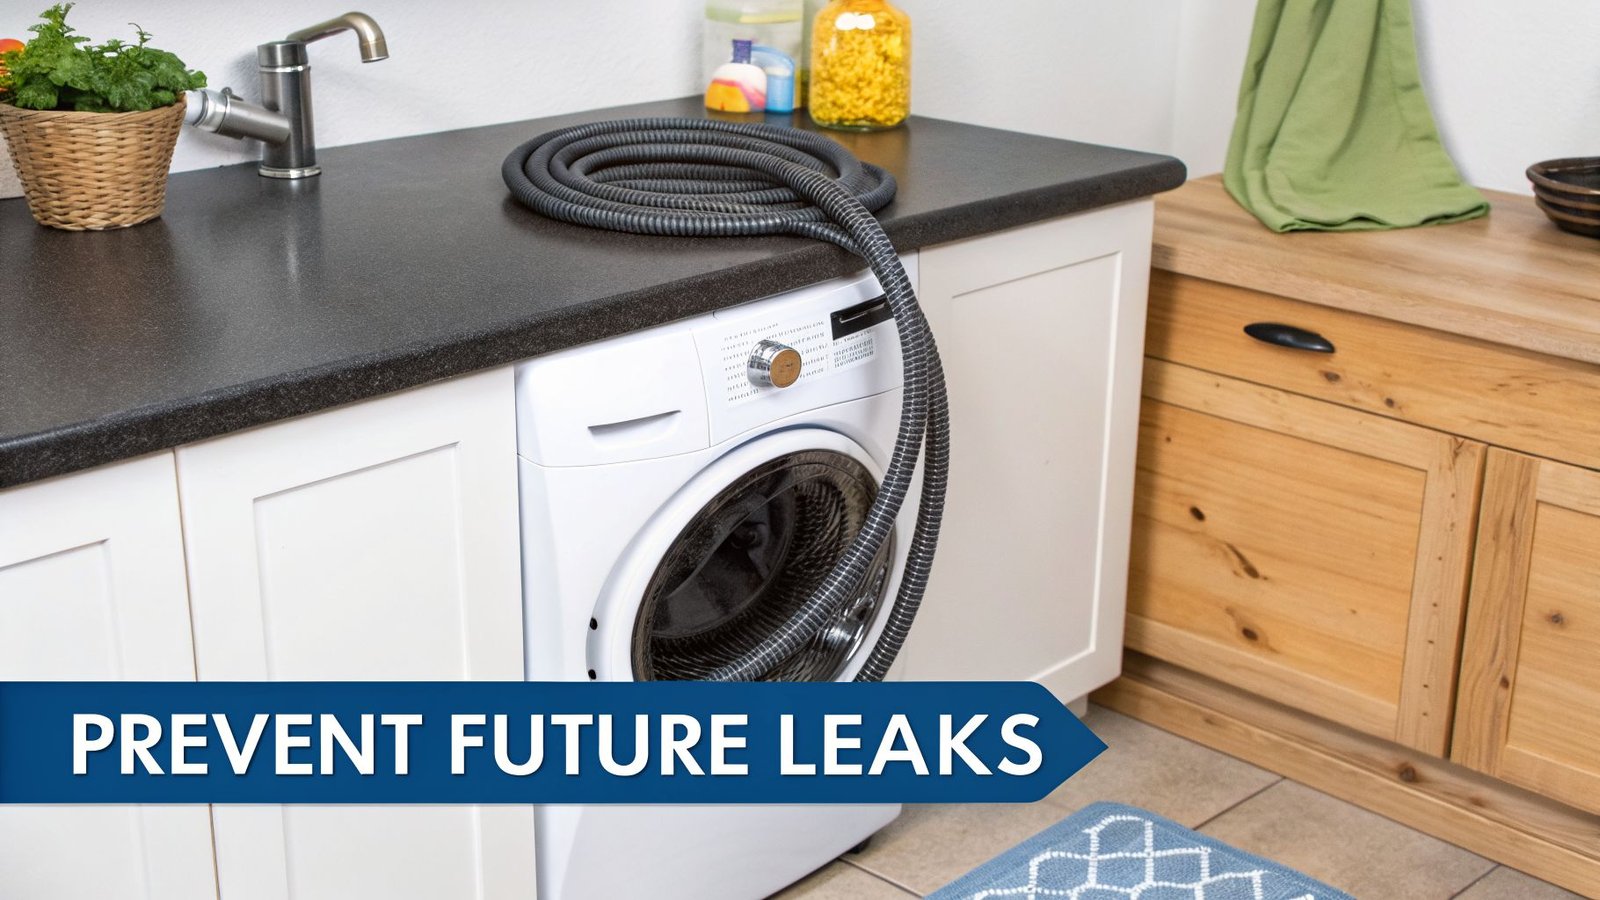
Fixing a leak is one thing, but preventing it from happening in the first place is the real victory. Once you’ve dealt with the immediate mess, a few simple habits can serve as your best defense against another drain hose failure.
The easiest preventative measure is a quick visual check every few months. The next time you retrieve a lost sock from behind the washer, take 30 seconds to glance at the hose. Ensure it isn't crushed against the wall and has a gentle curve with no sharp kinks that could restrict water flow.
Building a Simple Maintenance Routine
You don’t need special tools to avoid a major headache. Turning these small checks into a routine is the most powerful preventative maintenance you can perform.
- Check for Wear Annually: Once a year, physically feel the hose. Is it still flexible, or does it feel stiff and brittle? Hoses often break down from the inside out, so a brittle texture is a clear warning that it’s time for a replacement.
- Clean the Drain Pump Filter: Your washer has a small trap to catch coins, lint, and other debris before it enters the drain hose. Cleaning this filter every 3-4 months is critical to prevent clogs that can build pressure in the drainage system.
- Mind the Gap: Always leave at least four to six inches of space between your washer and the wall. This gives the drain hose plenty of room and prevents it from being flattened or kinked when the machine vibrates during a spin cycle.
A little care goes a long way. You can find more practical advice in our guide covering 6 maintenance tips for your Whirlpool washing machine, with insights that are useful for nearly any brand.
Smart Upgrades and Replacement Schedules
The standard black rubber hose that came with your washer is not designed to last forever. In our experience, it's one of the most common failure points, and waiting for it to leak is a risky gamble.
A Technician’s Recommendation
We strongly advise replacing standard rubber drain hoses every 3 to 5 years, regardless of their appearance. For enhanced durability and peace of mind, upgrade to a braided stainless steel hose. They are far more resistant to bursting, punctures, and kinking.
Preventative replacement is especially important in areas with hard water, which can make rubber and plastic parts more brittle over time. Regular maintenance helps prevent serious water damage when a hose finally gives way under pressure.
When to Call a Professional for Your Washer Leak
Many drain hose problems are suitable for a weekend DIY project. However, knowing when to put the tools down is the most important part of any home repair. Sometimes, that puddle on the floor is a symptom of a deeper issue that requires a trained eye.
If you’ve checked, tightened, or even replaced the drain hose and the leak persists, it's time to stop. A stubborn leak often points to a more significant problem, such as a failing drain pump or a crack in the washer tub itself. These repairs are not simple swaps and usually require disassembling the machine.
Signs It’s Time to Call for Help
Your safety and your home's integrity are the top priorities. If you encounter any of these situations, it's time to call a professional.
- Leaks From Under the Machine: If water is seeping out from the bottom of the washer cabinet—and you're certain it's not from the external hoses—an internal part has likely failed. This could be anything from a tub seal to an internal hose.
- Any Electrical Concerns: Water and electricity are a dangerous combination. If you notice a burning smell, see sparks, or the leak is near the power cord and outlet, unplug the washer immediately (only if it's safe to do so) and call for help. Do not take chances.
- You Can’t Move the Washer Safely: Washing machines are heavy and awkward. If you can't comfortably and safely pull the unit out to access the back without risking injury or damaging your floors, leave it to a professional.
A Crucial Warning From Our Techs
Any leak that continues after you’ve double-checked the connections and replaced the hose is a clear signal of a more serious problem. Attempting further repairs on your own can lead to major water damage or a dangerous electrical situation.
If a drain hose leak has already caused a significant puddle, knowing the essential water damage mitigation steps is critical to protect your home. For a deeper dive into making the right call, our guide on when to call an appliance repair technician has even more great insights. Ultimately, trusting a licensed professional ensures the job is done correctly, safely, and with a guarantee.
Answering Your Washer Drain Hose Questions
Even after you've pinpointed a leak, you might still have questions. Getting the details right on your washer's drain hose is key to preventing another soggy surprise. Here are straight answers to the questions we hear most often from homeowners.
How Often Should I Replace My Washer Drain Hose?
As a preventative measure, we recommend replacing standard rubber drain hoses every three to five years. Don't wait for visible cracks. These hoses often fail from the inside out, meaning they can be ready to burst even when they look fine on the surface. For a longer lifespan, consider upgrading to a braided stainless steel hose.
Can I Use a Universal Drain Hose for My Washer?
Yes, for most top- and front-load machines, a universal drain hose kit will work. These kits are designed to fit major brands like LG, Samsung, Whirlpool, and Maytag, and they often come with adapters to match your home's drainpipe. The key is ensuring the diameter and length are appropriate for your setup. For some high-end or integrated washers, you might need a specific OEM (Original Equipment Manufacturer) part for a perfect, leak-proof seal.
Check the Manual First
When in doubt, your washer's user manual is your best resource. It will list the exact specifications for the drain hose—diameter, length, and connection type—taking the guesswork out of buying the right part.
What Is the Correct Height for a Washer Drain Hose?
Correct drain height is crucial. If it's wrong, you risk leaks or siphoning problems that can prevent the washer from operating properly. The top of the standpipe in your wall or the edge of your utility sink should be between 30 and 96 inches from the floor. A common mistake is inserting the hose too far down into the standpipe, which can create an airtight seal and cause water to back up and overflow. Always check your washer’s installation guide for the manufacturer's specific height requirements.
My New Drain Hose Still Leaks. What Went Wrong?
If you've installed a new hose and it still drips, the problem is almost always the connection. Start by checking the clamp. Ensure it’s snug, but don't overtighten—this can crack the washer's plastic drain outlet or damage the end of the new hose. Next, confirm the hose is pushed all the way onto the washer's drain port. If it still leaks, there might be a tiny, hard-to-see crack in the plastic port itself. If a new clamp doesn't solve it, the drain port is likely damaged and requires professional repair.
If you've run through these checks and water is still getting out, it's time to call in the pros. The team at Advance Appliance Ltd. is ready to help with same-day and next-day service across Edmonton, Calgary, Red Deer, and the surrounding areas. Book your repair online or give us a call today!