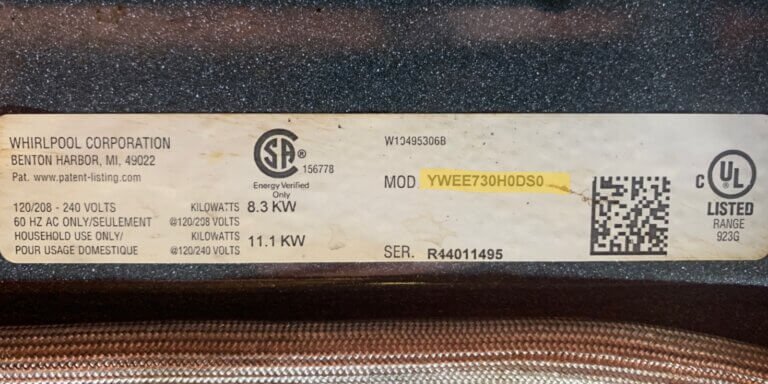
MODEL NUMBER: YWEE730H0DS0
This model has several versions, with differences mainly in cosmetic appearance.
Available colors: White, Black, Stainless Steel.
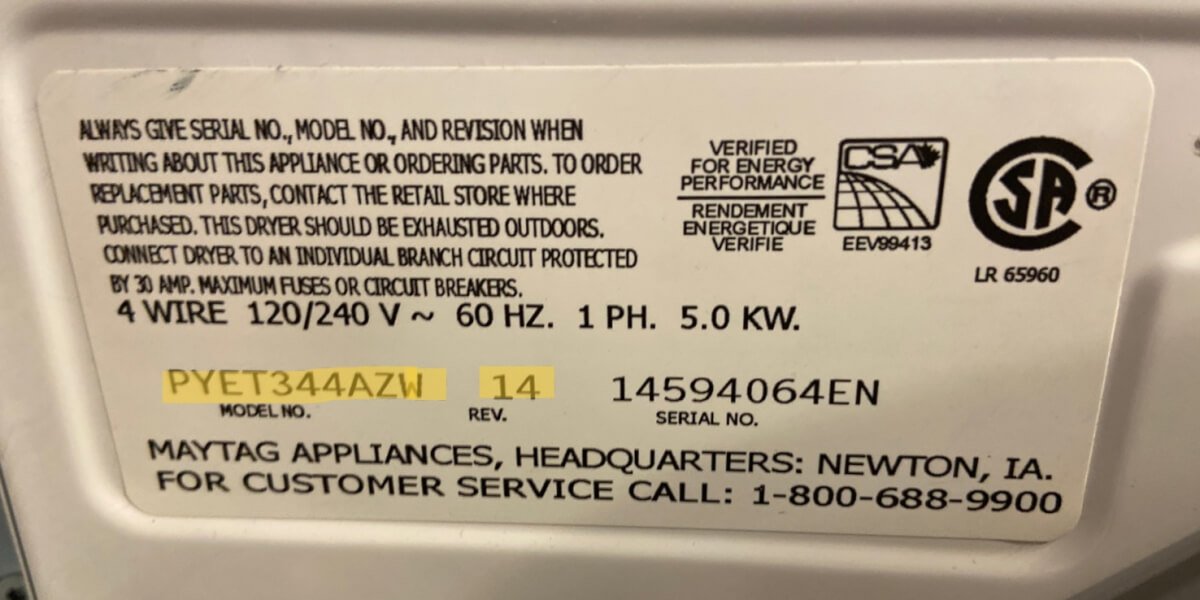
Cosmetic parts are very important from a customer satisfaction point of view. When a technician needs to replace
a control panel, trim piece, or any component that affects the appearance of the appliance, it is essential to
provide the complete model number and serial number.
Failure to provide complete information may result in ordering incorrect parts, mismatched colors, or components
that are not compatible with the specific version of the appliance. This can cause delays, additional costs, and
unnecessary inconvenience for the customer.