When your dryer tumbles away but leaves your clothes just as damp as they went in, the fix is often surprisingly simple. Before you start thinking about expensive repairs, know that the most common culprits are usually a clogged lint screen or vent, a tripped circuit breaker, or a blown thermal fuse. Tackling these basic checks first can often get your dryer heating again without needing special tools or a service call.
Why Is My Dryer Tumbling But Not Heating?
It’s a classic appliance headache: you can hear the dryer running and see the drum spinning, but there’s zero heat. Before you jump to the worst-case scenario, it helps to understand this isn't a random failure. A dryer that tumbles without heating is a clear signal that something in the heating system has failed or, more likely, a safety feature has kicked in.
The reasons can be quite straightforward and are often tied to simple maintenance you might have overlooked. A clogged vent, for instance, is a huge one. When hot, moist air has nowhere to go, the dryer starts to overheat. To prevent a fire, a small safety device called a thermal fuse blows, cutting power to the heating element while still allowing the drum to turn.
Common Reasons for a No-Heat Dryer
Several key parts are responsible for producing heat, and the ones you’ll need to investigate depend on whether you have an electric or gas model. If you're curious about the different mechanisms, our guide on the types of dryers explains how they work.
Here are the most frequent offenders we see in the field:
Blocked Airflow: This is, without a doubt, the number one cause. A full lint filter or a vent hose packed solid with lint chokes off the airflow, causing the machine to overheat and trip a safety fuse. If your dryer runs but won’t heat, checking for dryer vent clogged symptoms is the first, most important step.
Power Supply Issues: This is a big one for electric dryers. They need 240 volts to power the heating element, which means they use two separate circuit breakers. If only one of them trips, the dryer might get enough juice to tumble the drum but won't have the power to actually generate heat.
Faulty Heating Components: Parts just wear out over time. It happens. In an electric dryer, the heating element itself can burn out. For a gas dryer, the usual suspects are a failed igniter or the gas valve solenoids.
This flowchart breaks down the initial troubleshooting process, starting with the easiest and most common fixes like checking your power and vents.
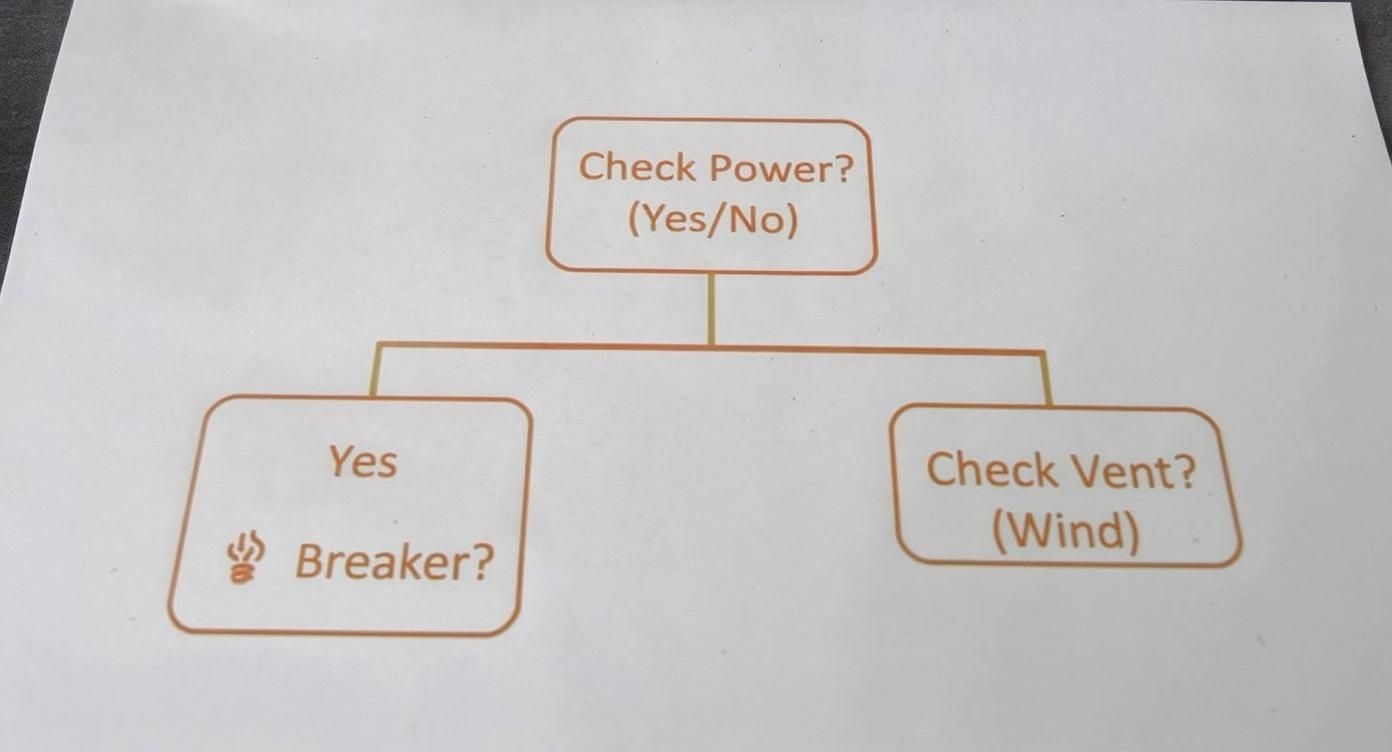
As you can see, ruling out simple power and airflow problems is the smartest way to start before you dive into testing the internal components. It's the most efficient path and often solves the issue right away.
Alright, let's get into the most important part of any DIY appliance repair: safety. Before you even think about grabbing a tool, we need to talk this through. It's the one step you absolutely cannot skip.
When you’re trying to figure out why your dryer won't heat, you're dealing with either a powerful 240-volt electrical circuit or a live gas line. Both are serious business and demand your full attention and respect.
Making your workspace safe isn't just common sense; it means taking specific steps to remove any chance of injury. A few minutes of prep work now can prevent a nasty electrical shock, a dangerous gas leak, or worse.
Securing Power to an Electric Dryer
If you have an electric dryer, simply pulling the plug from the wall isn't good enough. These machines run on a hefty 240-volt circuit—that's why they have that big, unusual plug. To be completely safe, you have to kill the power right at the source.
- Head over to your home's main electrical panel (your breaker box).
- Look for the two breakers that are physically linked together. They should be labelled "Dryer" or something similar.
- Firmly flip both breakers into the "OFF" position.
This guarantees zero electricity can get to the appliance while you're working on it. It’s the exact same procedure a pro technician follows every single time. No exceptions.
Disconnecting a Gas Dryer
For those with a gas dryer, the main concern is the natural gas supply. You have to shut this off before doing anything else to avoid a leak.
Look for the shut-off valve on the pipe running into the back of your dryer. You'll see a small lever or handle. Turn it so it's perpendicular to the pipe (making a 90-degree angle). That "T" shape means the gas is stopped. Once that's done, go ahead and unplug the dryer's standard power cord from the wall outlet, too.
Taking these safety steps is non-negotiable. For more tips on keeping your laundry room out of harm's way, check out our dryer maintenance checklist to fire-proof your home. Always put your well-being first.
Simple Fixes You Can Try Right Now
Before you start worrying about a dead heating element or a blown fuse, let's cover the basics. From my experience, a surprising number of "no heat" calls are actually caused by simple oversights. These are the very first things any professional technician would check, and you can do them yourself in just a few minutes.
Most of the time, the problem boils down to two things: a lack of proper power or a clog in the airflow. If either one is off, your dryer simply can't do its job, even if every internal part is working perfectly. Let's walk through these checks together.
Re-Examine Your Circuit Breaker
This one trips people up all the time. An electric dryer doesn't run on a standard 120-volt outlet; it needs a beefy 240 volts to generate heat. To deliver that power, it uses a double-pole breaker in your electrical panel—it looks like two separate switches that are linked together.
Here’s the tricky part: it's possible for only one half of that double breaker to trip. When that happens, your dryer still gets enough juice (120 volts) to turn on the lights and spin the drum, but the heating element gets nothing. It's the classic "it tumbles but won't heat" scenario.
So, don't just glance at the breaker. Go to your panel and physically reset it.
- Find the double breaker for your dryer.
- Flip it firmly all the way to the "OFF" position until you hear a click.
- Wait a second, then flip it back to the "ON" position.
This forces both halves of the circuit to reset properly. If the breaker feels loose or immediately trips again, stop right there. That's a sign of a bigger electrical problem, and it's time to call in a pro.
Perform a Thorough Lint and Vent Check
Now for the number one cause of dryers not heating: restricted airflow. It’s that simple. When hot, moist air has nowhere to go, your dryer's internal temperature skyrockets. To prevent a fire, a safety device like the thermal fuse will trip, shutting off the heat while letting the drum continue to spin.
A clogged dryer vent is more than just an inconvenience; it's a leading cause of residential fires. The U.S. Fire Administration reports that failure to clean is the primary factor contributing to fires in clothes dryers, making this check essential for both performance and safety.
A proper vent check is more than just scraping the lint screen after a load. You need to inspect the entire path the air takes to get outside.
The Lint Trap Housing
First, pop out the lint screen. Now, grab a vacuum with a narrow attachment or a long, flexible brush and clean out the cavity it sits in. You'll be amazed at how much lint gets compacted down in there, creating a serious blockage you can't even see.
The Vent Hose
Next, carefully pull your dryer away from the wall and look at the flexible hose connecting it to the wall duct. Is it kinked, crushed, or sagging? Any of those can choke off the airflow. Disconnect it from both ends and look through it—it might be packed with lint.
The Exterior Vent Flap
Finally, head outside to where your dryer vents. Find the vent cover and make sure the flap can open freely. It’s a common spot for lint, leaves, and even birds' nests to build up, effectively sealing the exit shut and backing up the entire system.
Giving the whole ventilation path a thorough inspection is crucial. For a more detailed walkthrough, our guide on professional dryer vent cleaning has extra tips to ensure your system is completely clear. If you find and remove a big clog, you've likely solved your heating problem and dodged a serious fire hazard.
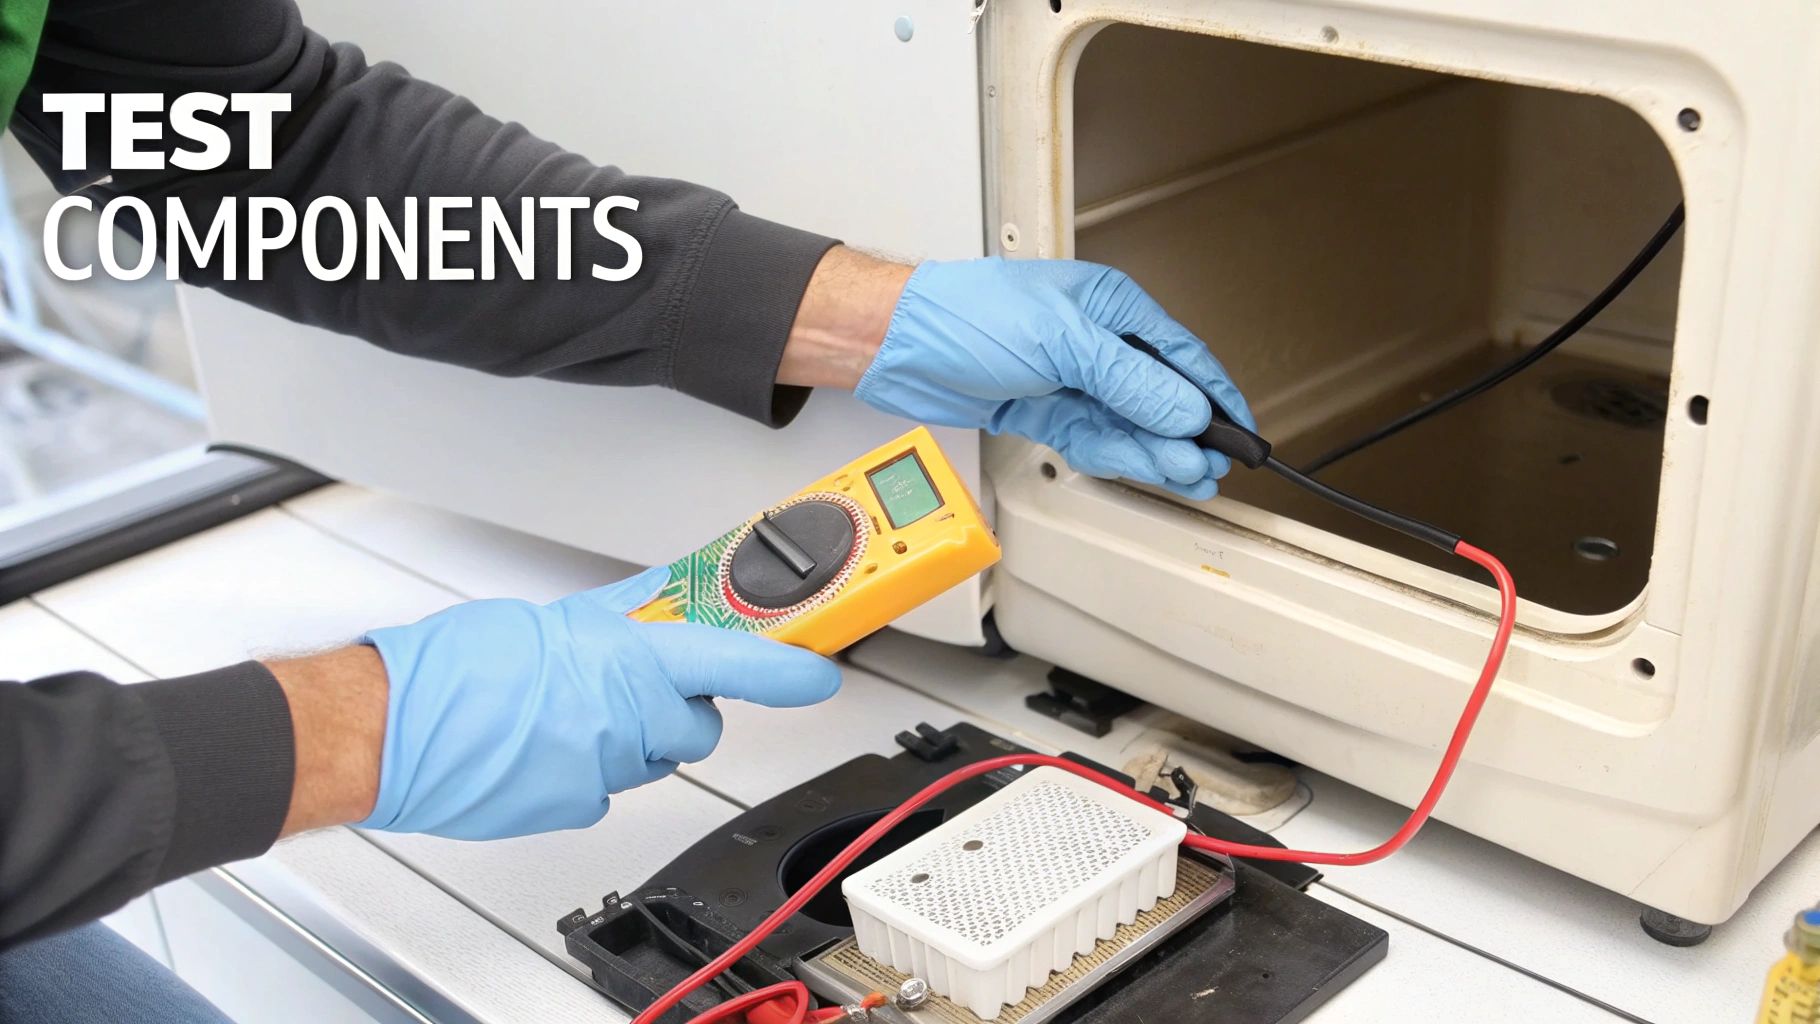
Alright, if you’ve cleared the vents and checked the breaker but your dryer is still giving you the cold shoulder, it’s time to roll up your sleeves and look inside. This is where we get into the nitty-gritty of diagnosing the problem. By testing a few key parts, you can zero in on the culprit without wasting money on components you don't need.
For these next steps, you’ll absolutely need a multimeter. It’s a handy tool that checks for electrical continuity, which is just a fancy way of saying it tells you if electricity can flow through a part. A reading near zero (0 Ω) means you're good to go. If you see "OL" (open line) or an infinity symbol, the electrical path is broken, and you've found your faulty part.

Before you touch a single wire, remember the most important rule of appliance repair: unplug the dryer! Safety first, always. You'll also need to disconnect at least one wire from the component you're testing to get an accurate reading.
Checking The Thermal Fuse
This little part is the unsung hero of your dryer. The thermal fuse is a tiny, cheap safety device designed to blow and cut power to the heat source if the machine gets dangerously hot—usually because of a clogged vent. It’s often the first thing to go, making it the prime suspect in any no-heat case.
You’ll typically find it on the exhaust duct inside the back panel. It’s a small, white plastic piece with two wires connected.
Here's how to test it:
- Set your multimeter to the continuity setting (the one that usually looks like a sound wave and beeps).
- Pull both wires off the fuse's terminals.
- Touch one probe from your multimeter to each terminal on the fuse.
If it beeps or shows a reading close to zero, the fuse is fine. An "OL" or infinity reading means it has blown and needs to be replaced. For a deeper dive, our guide explains more about what a thermal fuse is and why it matters for your appliance.
Important Takeaway: Finding a blown thermal fuse is great, but you’ve only found the symptom, not the root cause. A fuse blows for a reason, almost always due to an airflow problem. Make sure you find and clear the blockage before installing a new one, or you’ll be doing this all over again in a week.
Testing An Electric Dryer Heating Element
The heating element is the heart of an electric dryer. It’s a big coil of wire—like in a toaster—that glows red hot to create the heat that dries your clothes. After countless cycles, that coil can break or burn out, leaving you with a dryer that spins but just blows cold air.
You'll find the element inside a large metal box, usually located behind the back panel.
To test it:
- Disconnect the wires attached to the element's terminals.
- Give the coils a quick visual inspection. You can often spot a physical break or a dark, burnt-looking section where it failed.
- Set your multimeter to measure ohms (Ω).
- Place the probes on each terminal. A healthy element should show a resistance reading somewhere between 10 and 50 ohms.
- If your meter reads "OL," the coil is broken. The entire heating element assembly will need to be replaced.
A bad heating element is one of the most common dryer repairs we see. Thankfully, the part is relatively inexpensive, and swapping it out is a manageable job for a confident DIYer.
Verifying Thermostats and Sensors
Your dryer has a few thermostats that act as temperature bodyguards. The cycling thermostat is the main one, turning the heat on and off to maintain the right temperature inside the drum. The high-limit thermostat is purely a safety backup, cutting power if things get way too hot. If either of these fails in the "open" position, the circuit breaks, and you get no heat.
They look like small, round discs and are usually mounted on the heating element housing or the blower housing. Testing them is the exact same process as testing the thermal fuse.
- Cycling Thermostat: This manages the heat during a cycle. It should have continuity (a zero reading) at room temperature.
- High-Limit Thermostat: This is the emergency shut-off. It should also have continuity at room temperature.
Use your multimeter's continuity setting on each one. A good thermostat will give you a reading near zero; a bad one will show "OL."
Investigating a Gas Dryer Igniter and Flame Sensor
Gas dryers are a different beast entirely. Instead of an element, they have a gas burner assembly, and the two parts that fail most often are the igniter and the flame sensor.
The Igniter: This piece glows like a lightbulb filament to ignite the gas. It’s extremely fragile. You can often diagnose it just by looking—check for a visible crack or a dull, chalky white colour instead of its usual dark grey. To test it properly, a multimeter should show a resistance between 50 and 400 ohms when it's cold.
The Flame Sensor: This sits right next to the igniter and its job is to confirm that there’s a flame. If it doesn't sense one, it shuts off the gas as a safety precaution. It should show continuity when you test it with your multimeter at room temperature.
If you see the igniter glow but the flame never kicks on, the problem is more likely the gas valve solenoids. These are little electromagnetic coils that open the gas valve. You can test them with a multimeter, but you'll need to check your dryer's service manual for the correct resistance values.
Working through these components one by one takes the guesswork out of the equation. This methodical approach is the key to getting your dryer back up and running without a headache.
Knowing When To Call a Professional
Trying to fix your dryer yourself is a great way to save some cash and get to know your machine better. But there comes a point where even the most ambitious DIY-er needs to know when to put the tools down and call in an expert. Recognizing your limits isn't giving up—it’s the smart move that keeps you safe and prevents a small problem from turning into a big, expensive one.
There are a few red flags that are absolute deal-breakers. These aren't just suggestions; they're your cue to stop what you're doing and pick up the phone.
Clear Signs You Need an Expert
Some situations are just too risky to tackle on your own, and the potential savings aren't worth the gamble. If you run into any of these, your next call should be to a certified technician.
You Smell Gas: This is the big one. If you have a gas dryer and you catch that distinct rotten egg smell, stop everything. Don't touch any light switches or electronics. Get everyone out of the house immediately, call your gas company from a safe distance, and then call a pro for the repair.
Complex Electrical Problems: Seeing sparks, smelling burning plastic, or finding scorch marks on wires is a serious fire hazard. These symptoms point to issues far beyond a simple bad part and need a licensed technician to diagnose safely.
The Breaker Keeps Tripping: You reset the breaker, and it immediately trips again. This is a classic sign of a short circuit or a major electrical fault inside the dryer. Don't keep resetting it—it's dangerous and won't fix the underlying problem.
You've Reached Your Limit: Look, sometimes the problem is just plain stubborn. You've methodically checked the thermal fuse, the heating element, and all the usual suspects, but the dryer still won't heat. You've done your part. The issue could be buried in the main control board or another complex component that’s best left to a pro.
Calling a professional isn’t throwing in the towel. It's making a strategic choice for a safe, reliable repair that’s done right. An experienced technician can pinpoint tricky issues in minutes, saving you from buying and replacing parts you didn't even need.
The Value of a Certified Technician
When you're dealing with a dryer that just won't cooperate in Edmonton, Calgary, or Red Deer, the team at Advance Appliance Ltd is here to sort it out. Our factory-trained and certified Red Seal journeymen have seen it all and know how to diagnose the real problem quickly and safely.
We offer same-day and next-day service, and our vans are stocked with the most common parts to get the job done on the first visit. That means less waiting and getting your laundry routine back on track faster. You’ll get a clear, upfront estimate before we start, and we back all our work with a 90-day parts-and-labour warranty for total peace of mind. For a bit more insight, our guide explains when to call an appliance repair technician.
Don't let a frustrating dryer problem become a major headache. Let our experts handle it right the first time.
Your Dryer Repair Questions Answered
Even with a step-by-step guide, it's natural to have a few lingering questions. We get asked these all the time, so we've put together some straightforward answers to help you feel confident tackling this repair.
Is It Worth Fixing a Dryer That Won't Heat?
For most dryers, the answer is a resounding yes. The parts that usually cause this problem—like a thermal fuse or the heating element—are surprisingly inexpensive. You're typically looking at a cost between $20 and $80.
When you stack that up against the $700+ you'd spend on a brand new machine, putting in a little DIY effort makes a ton of financial sense, especially if your dryer is in otherwise good working order.
Can a Clogged Vent Cause a Dryer to Not Heat?
Absolutely. In fact, it's one of the most common reasons we see. When your dryer vent gets packed with lint, hot air gets trapped inside the drum with nowhere to go.
This triggers a safety feature—the high-limit thermostat or thermal fuse—to shut off the heat and prevent a potential fire. So, while it might seem like a major part has failed, it could just be your dryer protecting itself from poor airflow.
A no-heat issue is often your dryer's way of telling you something is wrong. Its safety systems are designed to kick in when airflow is compromised, which is why checking your vents is the first and most critical step.
My Gas Dryer Is Running But Why Is the Air Cold?
If you have a gas dryer that's tumbling but not heating, the issue is almost always located in the burner assembly. The two most likely culprits are a dead igniter or worn-out gas valve solenoids.
The igniter's job is to glow scorching hot to light the gas, while the solenoids open the valve to let the gas flow. If either one of these components gives out, your dryer will spin all day long, but you'll be left with a drum full of cold, damp laundry.
If you've run through these checks and you're still stuck, or if you'd just feel better having an expert take a look, we're here to help. Advance Appliance Ltd provides same-day and next-day service across Edmonton, Calgary, and Red Deer. Book your repair online and our certified technicians will get your dryer running safely again in no time.