It's one of the most frustrating appliance moments: you open the dishwasher expecting sparkling clean plates, only to find a caked-on mess staring back at you. Before you start thinking about a costly repair or replacement, take a breath. In my experience, the problem is often something simple.
More often than not, a dishwasher that isn't cleaning comes down to three things: it’s overloaded, the filter is clogged, or you're using the wrong wash cycle. Fixing these small issues can get your machine running like new again in just a few minutes.
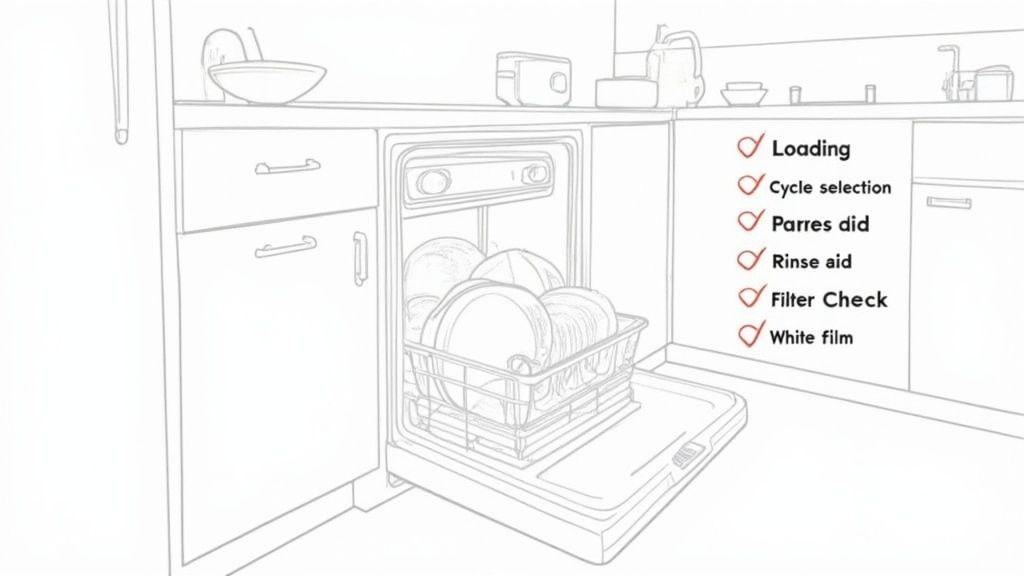
Your Quick Diagnostic Checklist for Dirty Dishes
Let's walk through a quick diagnostic check before you pick up the phone. I’ve helped countless homeowners in Edmonton, Calgary, and Red Deer solve their dishwasher problems with these exact steps. Many times, the issue isn't a broken part, but just a small oversight in how the machine is being used or maintained.
This checklist is your fastest route to a solution. We'll cover everything from loading habits to cycle selection. It's also the perfect time to give the appliance itself a good scrub—if it's been a while, here's a detailed guide on how to clean your dishwasher to prevent future grime.
To help you pinpoint the issue fast, here's a quick rundown of what you might be seeing and what it most likely means.
Common Dishwasher Problems and Their Quick Fixes
| Symptom You Are Seeing | Most Likely Cause | Actionable Fix to Try Now |
|---|---|---|
| Gritty film on glasses and plates | Clogged filter or dirty interior | Clean the filter at the bottom of the tub and run a cleaning cycle. |
| Food still stuck on top rack items | Upper spray arm is blocked | Check for large pans or utensils in the bottom rack blocking the arm's rotation. |
| Dishes come out wet | Rinse aid dispenser is empty | Refill the rinse aid compartment to help with water sheeting and drying. |
| Soap residue on dishes | Using too much or the wrong detergent | Cut back on the amount of detergent or switch to a high-quality pod or gel. |
This table covers the most frequent complaints we hear, and luckily, the fixes are usually straightforward and don't require any tools.
Simple Fixes for a Cleaner Load
Often, the problem starts before you even hit the "start" button. Overcrowding is a classic mistake. When you jam plates and bowls together, you create a wall that the water jets just can't get past. Nothing gets clean.
Another common culprit is a blocked spray path. A single tall cutting board or a big pan laid flat on the bottom rack can easily stop the upper spray arm from spinning. The result? The entire top rack gets a weak shower instead of a powerful wash.
Key Takeaway: Proper loading isn’t about Tetris-style packing. It's about giving water and detergent a clear path to do their job. Leave some space between your dishes—they'll thank you for it.
The very first question you should always ask yourself is about loading. It’s the easiest thing to get wrong and the easiest thing to fix.
As you can see, loading technique is the first checkpoint. Getting this right is fundamental to your dishwasher's performance and is the most common user error we see.
Inspecting Your Dishwasher Filter and Spray Arms
Alright, if the easy fixes didn't do the trick, it's time to get hands-on with the two parts that do most of the real work: the filter and the spray arms. Whenever I get a call about a dishwasher not cleaning, the very first thing I ask about is the filter. It’s the single most common culprit behind poor cleaning performance, and it’s an easy one to fix.
Think of a clogged filter like this: it catches all the food gunk, but if you don't clean it out, the dishwasher just re-circulates that dirty water over your "clean" dishes. You’re essentially just moving the mess around.
Locating and Cleaning the Dishwasher Filter
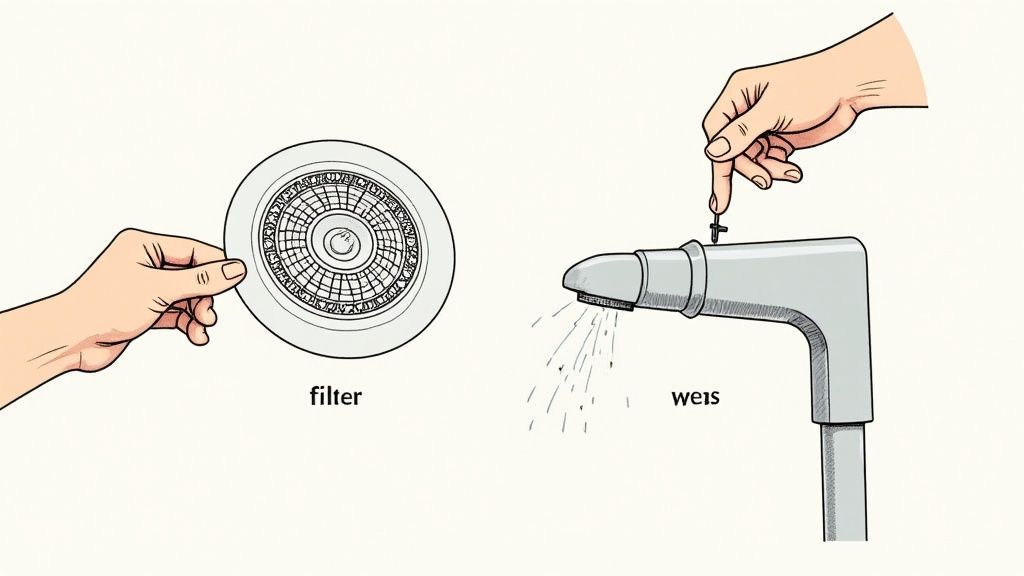
Finding the filter is usually pretty simple. Open the dishwasher and look at the very bottom of the tub, right under the lower spray arm. You should see a round, often cylindrical, piece that twists to unlock.
Most newer dishwashers use a filter assembly that includes a coarse outer filter and a fine inner mesh screen.
- Take the Filter Out: Give the filter a turn (usually counter-clockwise) and lift it straight up and out. Some designs also have a flat screen underneath that you’ll need to remove as well.
- Rinse it Clean: Bring the filter parts over to your sink and run them under warm water. You might be shocked at what you find in there—everything from bits of pasta to old coffee grounds.
- Scrub Away the Grime: For stubborn, greasy buildup, a soft brush (an old toothbrush is perfect for this) and a bit of dish soap will get that mesh screen sparkling. Just be sure to avoid wire brushes or anything abrasive that could tear the fine mesh.
- Put it Back Correctly: Once it’s clean, pop the filter back into place and make sure it locks in securely. If it's not seated right, it can’t do its job, and you risk letting larger debris get through to the pump, causing much bigger problems.
A clean filter doesn't just get your dishes cleaner; it helps the whole machine run more efficiently and quietly. I always tell homeowners to give it a quick rinse at least once a month. It’s the best way to prevent problems before they even start.
Clearing Blocked Dishwasher Spray Arms
With a clean filter in place, let’s check the spray arms. These are the spinning wands that are supposed to blast your dishes with high-pressure jets of water. But if the little holes (nozzles) get clogged with food bits or hard water deposits, the water pressure drops and entire sections of your racks get missed.
This is why you sometimes find that only the top rack or only one side of the dishwasher is still dirty. It’s a classic symptom of clogged spray arms and a very common reason for a dishwasher not cleaning well.
Luckily, cleaning them is easy. The lower spray arm can usually just be lifted straight off its base. The upper one might have a small plastic nut or a clip holding it in place that you can easily undo.
- Check the Nozzles: Hold the spray arm up to a light and peek through the holes. It’ll be obvious right away if any are blocked.
- Poke Out the Debris: Use something small like a toothpick, the end of a paperclip, or a thin wire to gently poke out any gunk you see in the nozzles.
- Give it a Vinegar Soak: If you have hard water, you'll likely see white, chalky buildup (limescale). An easy fix is to soak the spray arms in a bowl of white vinegar for about 30 minutes. The vinegar will dissolve those mineral deposits right off. Just give them a good rinse with plain water afterward.
- Reinstall and Spin: Clip the spray arms back into place and give them a gentle spin with your hand to make sure they move freely and don’t bump into the racks or any tall dishes.
This quick bit of maintenance can make a huge difference in your dishwasher’s performance. For a deeper dive into other common issues, our guide to dishwasher repair 101 has plenty more tips. Taking care of these small things now can save you a much bigger headache later on.
Solving Water Temperature and Pressure Issues
Think you've checked everything? Even with a spotless filter and clear spray arms, your dishwasher can still let you down if the water it's using isn't up to snuff. I've seen it countless times—the real culprits are water temperature and water pressure. These two factors are the powerhouse duo that dissolves detergent and blasts away grime. If one is off, you’re going to get disappointing results.
Modern dishwasher detergents are pretty amazing. They're packed with enzymes engineered to attack specific foods like starches and proteins. But here's the catch: those enzymes only wake up and get to work in a specific temperature range. For a truly deep clean, the water hitting your dishes needs to be between 49°C and 60°C (120°F and 140°F). If it's too cool, the detergent never fully activates, leaving you with that annoying greasy film.
Testing Your Hot Water Temperature
You don't need to call in a plumber for this. A simple kitchen thermometer is all it takes to see if your water is hot enough.
- First, head to the sink closest to your dishwasher and turn on the hot water tap.
- Let it run for a minute or so. This gets the water that’s been sitting in the pipes out of the way and pulls fresh, hot water straight from the tank.
- Grab a glass and a meat or candy thermometer. Let the hot water run directly over the thermometer until the temperature reading holds steady.
Is it below 49°C (120°F)? If so, your dishwasher is fighting a losing battle. The first place to look is the temperature dial on your home’s hot water heater. If your kitchen is a long way from the heater, just run the hot tap at the sink for a minute before you hit 'start' on the dishwasher. This ensures it gets a good slug of properly heated water right from the first fill.
Pro Tip: Your dishwasher has its own heating element, sure, but its main job is to maintain temperature during the cycle, not to heat cold water from the ground up. Giving it a head start with hot water from your tank makes a world of difference.
Investigating Water Pressure Problems
Temperature is only half the story. If water is just trickling into your machine, the spray arms won't have nearly enough oomph to knock food off the dishes. This is an incredibly common reason your dishwasher is not cleaning well, especially when the top rack comes out looking worse than it went in.
More often than not, the problem is hiding at the water inlet valve or the hose connected to it. This is where your home's plumbing meets the appliance.
- Check for Kinks: Gently pull the dishwasher out a few inches from the wall. Take a look at the water supply line, which is usually a braided steel hose. Is it sharply bent, pinched, or crushed? Any kink will choke off the water flow.
- Inspect the Inlet Valve Filter: Right where that hose connects to the dishwasher, many inlet valves have a small mesh screen. Over time, sediment and mineral deposits can clog it up. To check it, you'll first need to shut off the water supply to the dishwasher (that valve is usually under the sink). Then, carefully unscrew the hose from the valve and peek inside to see if the screen is full of gunk.
For those of us in areas with hard water, this can be a recurring headache. Looking into solutions for addressing severe hard water and limescale buildup can prevent these clogs from happening in the first place.
Ultimately, a strong, steady flow of hot water is the foundation of a good wash. By making sure your temperature and pressure are on point, you’ll knock out two of the most common—and overlooked—reasons a dishwasher fails to do its job.
How Detergent and Drainage Affect Your Clean
What you put into your dishwasher and what comes out are fundamentally linked. We can talk about water temperature and spray arms all day, but often, the problem comes down to two simple things: the detergent you’re using and the machine's ability to drain away the dirty water.
If either of these is off, you'll get a frustrating load of cloudy glasses or grimy plates. It’s one of the most common reasons a dishwasher just isn't cleaning the way it should.
Choosing the Right Detergent
The aisle is full of pods, powders, and gels, and the difference isn't just about convenience—it's about chemistry. Each type works differently depending on your water hardness and the kind of food messes you're dealing with.
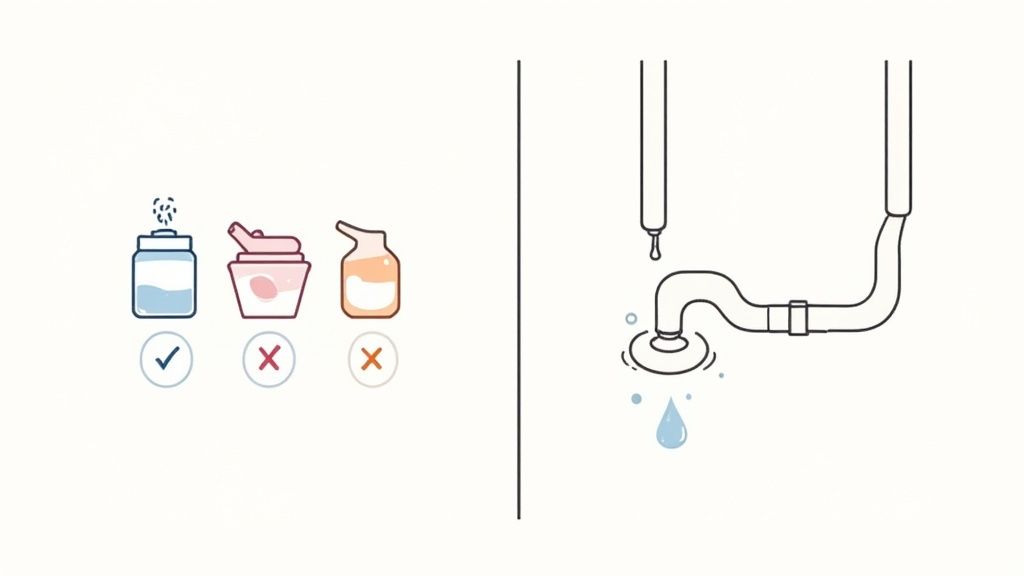
- Pods (or Pacs): These are popular for a reason. You get a pre-measured, concentrated dose that often includes degreasers and rinse aid all in one. They’re a fantastic set-it-and-forget-it option for most water types.
- Powders: The original, and still a heavyweight contender. Powder gives you the most control. You can use a little less for a light load or a bit more for that greasy lasagna pan, making it a super flexible and cost-effective choice.
- Gels: While easy to pour, liquid gels are generally the least powerful of the three. They often don't have the same enzymes needed to break down starchy, baked-on food, so they can struggle with tougher jobs.
If you’re seeing a white, chalky film on your dishes, you almost certainly have hard water. The best fix is usually a high-quality pod or a good powder detergent combined with a separate rinse aid. On the flip side, if you have soft water, using too much detergent can actually etch your glassware, causing permanent cloudiness.
The Critical Role of Proper Drainage
Even the best, most expensive detergent is useless if your dishwasher can’t get rid of the mucky water. Think about it: if the greasy, food-flecked water from the main wash cycle doesn’t drain out, it just gets sprayed back onto your dishes during the rinse. This is a massive reason for a dishwasher not cleaning properly.
In fact, drainage problems are no small issue. Industry data shows that around 13% of all dishwasher service calls in North America are because the machine is holding water, which directly ruins the cleaning cycle. You can dig into these common appliance repair trends in industry reports yourself.
If you think you've got a drainage clog, there are a few usual suspects to check first.
Expert Insight: Before you panic, check the drain hose. I've lost count of how many "broken" dishwashers were simply fixed by un-kinking a squashed hose behind the unit or clearing a food clog where it connects to the sink plumbing. Always start with the simple stuff.
Inspecting Your Drainage System
You'll probably need to pull your dishwasher out from under the counter to get a good look, but checking these common clog points can save you a service call.
- Check the Drain Hose: That corrugated hose running to your sink drain can easily get kinked or pinched. Make sure it has a smooth, clear path without any sharp bends restricting the flow.
- Inspect the Garbage Disposal Connection: If your dishwasher drains into a garbage disposal, it's a prime spot for clogs. Installers are supposed to remove a little knockout plug inside the disposal's inlet port, but sometimes it gets missed. Food gunk can also build up there over time.
- Clear the Air Gap: See that little chrome cylinder on your sink deck? That’s an air gap. It's a safety device to prevent dirty water from siphoning back into your dishwasher, but it can get clogged with gunk. Just unscrew the cap and clean out any buildup you see inside.
Fixing one of these simple drainage points can often solve the entire problem. But if you’ve checked them all and still find a puddle in the bottom of your machine, the issue might be more serious. Our team is ready to help with a dishwasher leaking or not draining in Edmonton, Calgary, and Red Deer, equipped to handle bigger problems like a failed drain pump.
Troubleshooting Standard vs Premium Dishwashers
When your dishwasher stops cleaning properly, the path to a fix can look wildly different depending on what kind of machine you own. A straightforward, standard dishwasher usually relies on simpler mechanical parts. A premium, luxury model, though? That's a different beast entirely, packed with advanced electronics, specialized sensors, and complex motors.
Getting to the root of the problem means understanding these differences. Sure, both types of machines can fall victim to common issues like a clogged filter or gunked-up spray arms. But the complexity of high-end models introduces a whole new set of potential failure points you just won’t find on a basic appliance.
The Role of Advanced Sensors and Electronics
One of the biggest distinctions is the heavy reliance on sensors. A premium dishwasher often uses a soil sensor—sometimes called a turbidity sensor—to literally measure how dirty the water is. Based on that reading, it automatically adjusts the cycle time and water usage to get things clean as efficiently as possible.
But what happens when that sensor goes on the fritz? It might incorrectly sense lightly soiled dishes, even when you’ve loaded it up with a greasy, post-lasagna mess. The result is a short, weak cycle that leaves you with dirty plates and a whole lot of frustration.
Expert Insight: If your high-end dishwasher suddenly starts leaving food behind on its "Auto" cycle, a faulty soil sensor is a prime suspect. Try running the heaviest, most intensive cycle manually. If the dishes come out clean this time, it strongly suggests the sensor is to blame.
Another common weak point in premium models is the electronic control board. These circuit boards are the brains of the entire operation, managing everything from water intake to draining. A random power surge or simple component failure can cause the board to glitch, leading to all sorts of erratic behaviour or a complete refusal to run a proper cycle.
Common Faults: Standard vs. Premium Models
It's a bit ironic, but the extra features that make luxury models so appealing can also be their Achilles' heel when it comes to repairs. All that complexity just means there are more things that can potentially break down.
Failure rate data from the appliance industry backs this up. While a solid standard model might see failure rates around 15-18% within the first five years, more technologically advanced brands can see that number jump as high as 20-22%. This is often chalked up to smart features and countless specialized cycles creating more opportunities for something to go wrong.
Here's a look at how troubleshooting often differs between the two.
Troubleshooting Standard vs. Premium Dishwashers
When your dishwasher isn't cleaning, the fix can vary greatly depending on whether you have a basic or a high-end model. Below is a comparison of common issues and how to approach them.
| Feature | Standard Model (e.g., Amana, Frigidaire) | Premium Model (e.g., Bosch, Miele, KitchenAid) |
|---|---|---|
| Cleaning-Related Failures | Clogged spray arms, faulty timers, bad heating elements. Problems are usually mechanical. | Faulty soil/turbidity sensors, control board glitches, software errors, variable-pressure motor issues. Problems are often electronic. |
| Troubleshooting Approach | A hands-on check of mechanical parts is the first step. Listen for unusual noises and visually inspect components like the timer and filter. | Start with an electronic reset. Run diagnostic cycles if available. Problems often require a multimeter to test electronic components like sensors. |
| Typical Costs | Replacement parts like timers or wash motors are generally more affordable and widely available. Labour is often simpler. | Electronic control boards and specialized sensors can be expensive. Repairs often require brand-specific knowledge, potentially leading to higher labour costs. |
Ultimately, while premium dishwashers offer incredible performance and features, their complexity means diagnostics can be more involved. A standard model might be simpler to fix, but a high-end machine often requires a more technical approach when it stops cleaning effectively.
How to Perform a Basic Electronic Reset
If you suspect an electronic glitch is the reason your premium dishwasher not cleaning issue has popped up, a simple reset is the first thing you should try. It’s surprisingly effective and can clear temporary errors in the control board's memory, just like restarting a computer fixes odd behaviour.
Here's what to do:
- Unplug the dishwasher from the wall outlet or, even better, turn it off at the circuit breaker.
- Wait for at least five full minutes. This is the key part—it gives the internal capacitors enough time to fully discharge and clear any lingering electronic faults.
- Restore power by plugging it back in or flipping the breaker on.
This simple action can often resolve unexplained cleaning problems on these more sophisticated machines. It’s also worth remembering that many of these advanced units are high-efficiency models. If you’re curious about what that really means, you can explore what makes an appliance high-efficiency in our guide.
While a standard dishwasher might give you clear mechanical clues when something is wrong, a premium model often requires you to think like a tech, starting with its complex electronic systems.
Knowing When to Call a Repair Professional
There’s a real satisfaction in fixing something yourself. But if you’ve worked your way through this guide—from cleaning filters to checking water lines—and your dishes still aren't coming out clean, it’s probably time to bring in a professional.
DIY repairs have their limits. Pushing past them can easily turn a small, frustrating problem into a big, expensive one.
Red Flags That Mean It's Time to Call Us
Some issues are clear signals you've gone beyond a simple DIY fix. If your dishwasher is completely dead, if you spot water pooling underneath it, or if you run into any electrical quirks like a flickering control panel or a burning smell, stop immediately.
These aren't problems you want to tackle without proper training.
Attempting to fix complex electrical or plumbing issues on your own isn't just a risk to your dishwasher—it's a major safety hazard. A licensed technician has the right tools and training to handle these situations safely, protecting your home and family.
The Value of a Certified Technician
A professional technician doesn't just show up with a toolbox; they bring years of diagnostic experience. They can quickly figure out if the real problem is a worn-out wash motor, a failed heating element, or a glitchy control board—things that are almost impossible to diagnose without specialized equipment.
This is especially true with newer, high-efficiency models. Sometimes, these dishwashers are designed to underperform just to meet strict energy standards, an issue you can learn more about from California's energy commission reports. It takes a pro to know the difference between a faulty part and a design quirk.
For our customers in Edmonton, Calgary, and Red Deer, our certified technicians have a van stocked with common parts. This means we can often finish the repair on the very first visit, getting your kitchen back to normal without a long wait.
If you're still on the fence, our guide on when to call an appliance repair technician breaks down even more signs that it's time to make that call. A professional repair ensures the job is done right, done safely, and backed by a warranty for your peace of mind.
Common Dishwasher Questions, Answered
Let's tackle a few of the most common questions we get from homeowners struggling with a dishwasher that just isn't cutting it. Here are some quick answers to get you back on track.
Why Are My Glasses Coming Out So Cloudy?
Cloudy glassware is almost always caused by one of two culprits: mineral buildup from hard water, or permanent etching. The trick is figuring out which one you're dealing with.
An easy way to tell is to soak one of your cloudy glasses in white vinegar for about five minutes. If that milky film disappears, you've got a hard water problem. The best defence here is a quality rinse aid—it helps water sheet off the glass during the final rinse, so mineral spots can't form.
But if the glass is still cloudy after its vinegar bath, it's probably etched. This usually happens from using way too much detergent, especially if you have soft water. Unfortunately, etching is permanent damage to the glass itself and can't be reversed.
Pods, Powder, or Gel: Which Detergent is Actually Best?
Each type of detergent has its place, and what's "best" really comes down to your water conditions and what you're washing.
- Pods: These are the ultimate in convenience. They're pre-measured powerhouses, often packed with degreasers and rinse aid, delivering a consistent and powerful clean for most everyday loads.
- Powder: This is your most economical and customizable option. You have total control over how much you use, which is perfect for adjusting to smaller loads or tackling the challenges of very hard or soft water.
- Gels: Liquid gels tend to be the gentlest on dishes, but they often lack the punch needed for seriously baked-on food messes when compared to pods or powders.
For most people dealing with poor cleaning performance in a modern dishwasher, we find that switching to a high-quality pod or a reputable powder detergent usually makes the biggest difference.
How Often Should I Really Clean My Dishwasher Filter?
To keep your dishwasher running smoothly, you should be giving that filter a quick rinse at least once a month. Most of the time, a simple rinse under a warm tap is all it takes to clear out any trapped bits of food.
Pro Tip: The moment you notice a dip in cleaning quality, feel a gritty film on your dishes, or smell something funky, make the filter your first stop. It is, without a doubt, the most important maintenance task for your dishwasher.
Every few months, it's a good idea to give it a more thorough clean with a soft brush and a bit of dish soap. This one habit is the single best way to prevent your dishwasher from not cleaning properly.
If you've run through these fixes and your dishwasher is still leaving you with dirty dishes, it might be a sign of a deeper issue. For a professional diagnosis you can trust, the experts at Advance Appliance Ltd. offer reliable, same-day service across Edmonton, Calgary, Red Deer, and the surrounding communities.